Wednesday, March 30, 2016

Doll Closet Organization

We've had her for almost a year. So far, she has about 20 outfits, a spa set, 4 pairs of shoes and now... a closet.

That's right: Our 18" doll has her own closet. Actually, it was a great solution. We needed a space to keep the growing collection of doll items. When my daughter found a Barbie closet made from an old suitcase she even offered to donate all her old Barbies so she could use the suitcase they were kept in! (Score one for getting rid of unused toys!)

So, we gathered up some supplies: a few kid-size plastic hangers, the old suitcase, a tension rod, an old utensil tray, and a command hook. Oh, and all the doll's stuff.


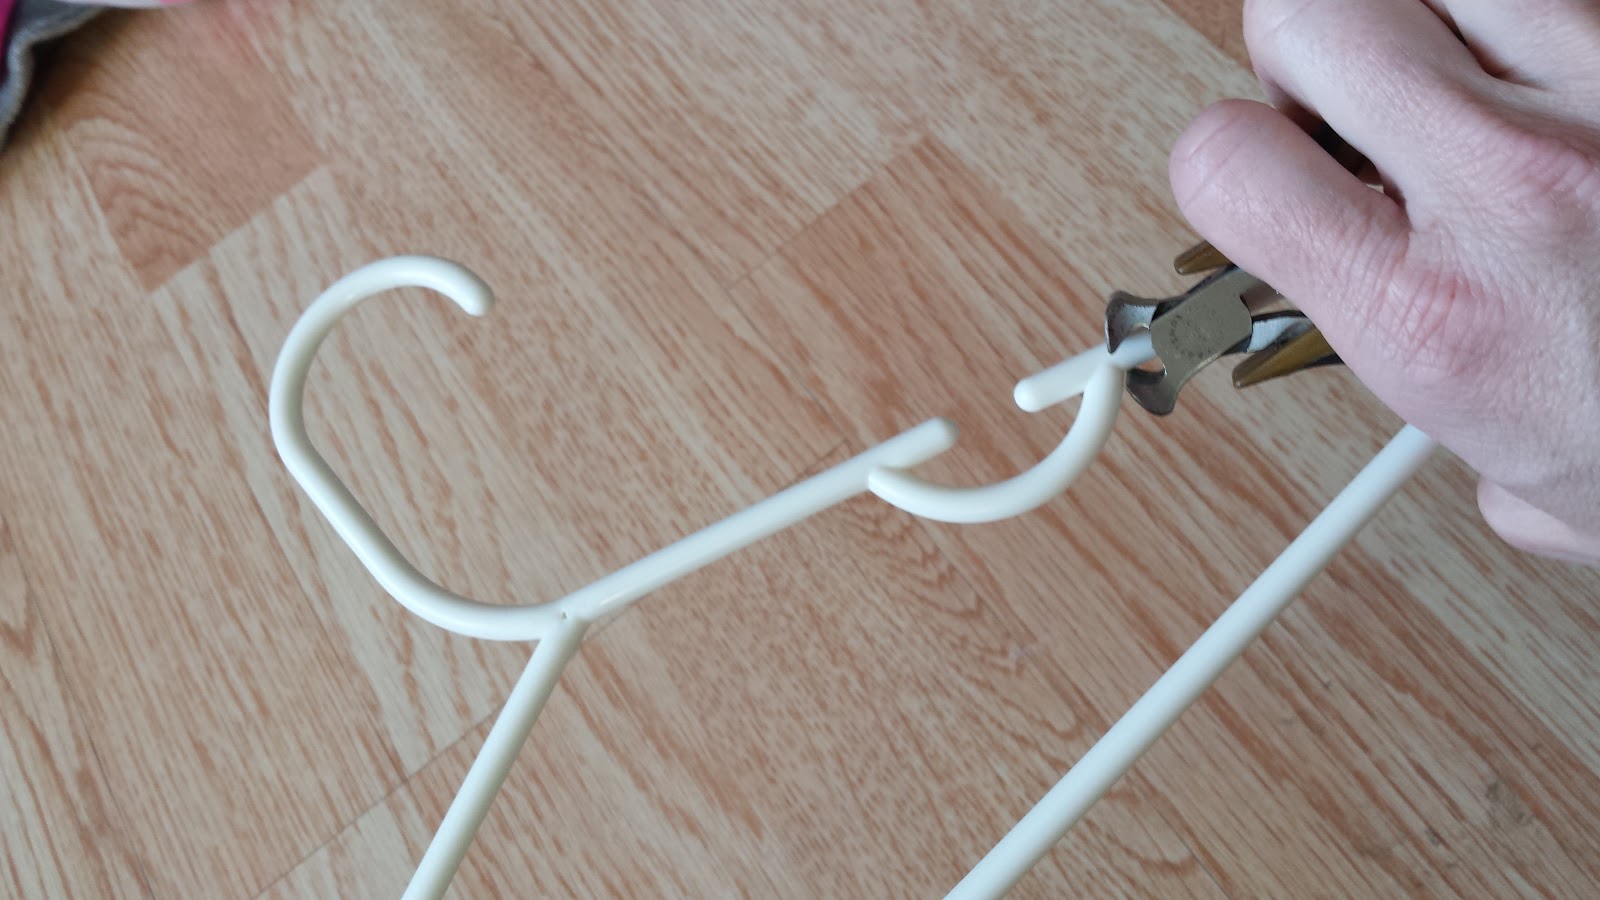
First you need to clip your hangers so they fit. Take a kid-size hanger with the sleeve holder things (I have no idea what they are really called!) and trim it off just past that spot.


Next, we put in the tension rod. Make sure you put it low enough to put your hangers on, and far enough out that it hangs correctly. Spread your tension rod so that it is a quarter to a half inch wider than your suitcase, squeeze in your springs, put it in place, and let go. Check to make sure it is level. It should be ready to hold your hangers and clothes!


We glued in a command hook for the purses, placed an old utensil drawer organizer in the bottom to hold shoes and other things, and voila! A closet for the doll!


Here she is with her bed, too. SO much fun to have a girl and a doll!

And that's the way we art!
Stacy

Sunday, March 13, 2016

Pallet Wood Love

I'm in love. 

I finally finished a simple little project, and I love it! It is the first piece in the transition to my new look.

A few months ago I found an old pallet in my dad's garage. Of course I just had to ask what he was going to do with it. He gave an answer, but honestly I don't remember it. So it was a surprise when a few weeks later he called and asked if I wanted it. But of course, dad! So he brought it over.

And it sat under my back deck. For a while.

When the weather warmed up I grabbed a circular saw and chopped it up. I was able to get nearly 25 usable pieces of 13" board. I took three of them and glued some joining pieces of scrap wood to the back (thanks to my dad, again, for the scrap wood!).

I knew I wanted a sign of some sort, but I wasn't sure exactly what. One day I was shopping in my local craft store and I found a rustic, bronzed metal letter "D" on the clearance shelf. And it was a match made in heaven.

Here is the final result, hanging on my entry wall:

In a few months when we pick out our new house, this will be one of the first design pieces I hang. A few other things I have planned - a couch recover, some barn wood projects, and a coffee table redo- will join in to make my new space fresh yet old.

Check back again as I work through all of these amazing projects!

Oh, and if you have any ideas on what to do with my remaining pallet wood, I'd love to hear about them in the comments!

Wednesday, March 9, 2016

Under the Sea Coral Art

To say I love VBS is a bit minor. I mean, I LOVE VBS. I think it is so much fun to decorate, play, teach, sing, and have fun at church. Its definately one of my favorite seasons.

Confession: Its only March and I have already made a few decorations! :)  So, I thought I would do a very first post to show you some really cool, super easy coral I made.

It all starts with some food coloring and coffee filters...


Choose a few bowls that you can fit your filters in. Fill them with water- just enough that an inch or so of your filter will be submersed in the upcoming steps. Add just a few drops of food coloring and stir.


Next, place your coffee filters upside down in the colored water.

You will see rather quickly the color soak into the filters. Leave them in the water until it has absorbed enough to reach the flat portion of your filter. Carefully remove the filters and place them on a drying rack. I used my baker's cooling rack placed over my sink so that any dripping would be easy to rinse down.


Now let them dry.  This could take a while... maybe even a day! I sped up the process by placing my filters in front of my space heater/fireplace.  (Perhaps that's a perk to starting VBS in the winter. :)  )


Once dry you will need to gather some additional materials. I used a few chenille stems, a stapler, a pair of scissors, a paper plate, and some tape.

Begin pulling apart your filters and thread them on the chenille stem. I put up to 10 at a time on, then squished them together and stapled it to hold it in place. This is kind of free play- just squish and bend until you get a nice ruffle feel.


Pack three or more stems together into a nice circular shape by threading the stems through the center of a paper plate. Pack as many stems as you desire to make your coral nice and full. Twist your stems together underneath, and voila! A beautiful piece of coral!

The picture above is 2 sets of coral made with pink, yellow, and orange tipped filters. I clustered them together, added a cute paper plate seahorse, and plan to add a bit or greenery behind.

With several options for underwater VBS, I hope you find these gracing your area this summer!

~Stacy


Tuesday, March 8, 2016

Welcome!

This is the part where I have really cool content and projects you are dying to try. Or buy. Or something.

But, alas, I am not quite there yet. My grand plan is to begin using this blog space to show you the many ways art is a part of our life. You see, with three young ones and a crafty momma, we are always getting into a mess. Because of the many messes my kids have made, they are now bright, talented, and creative kids with really good motor control! (Seriously- my four year old can use scissors better than some adults I know!)

So, I hope you will join me for the ride. Here are some things you will see in the days to come:

  •   How-to articles on incorporating your children into art
  • Photo tutorials on home decor projects and other large artwork
  • Successful and failed attempts at Pinterest projects
  • The love of a family who art-s together

Bookmark us, subscribe, whatever you need to do to remember to come back! 

See you soon!
Stacy